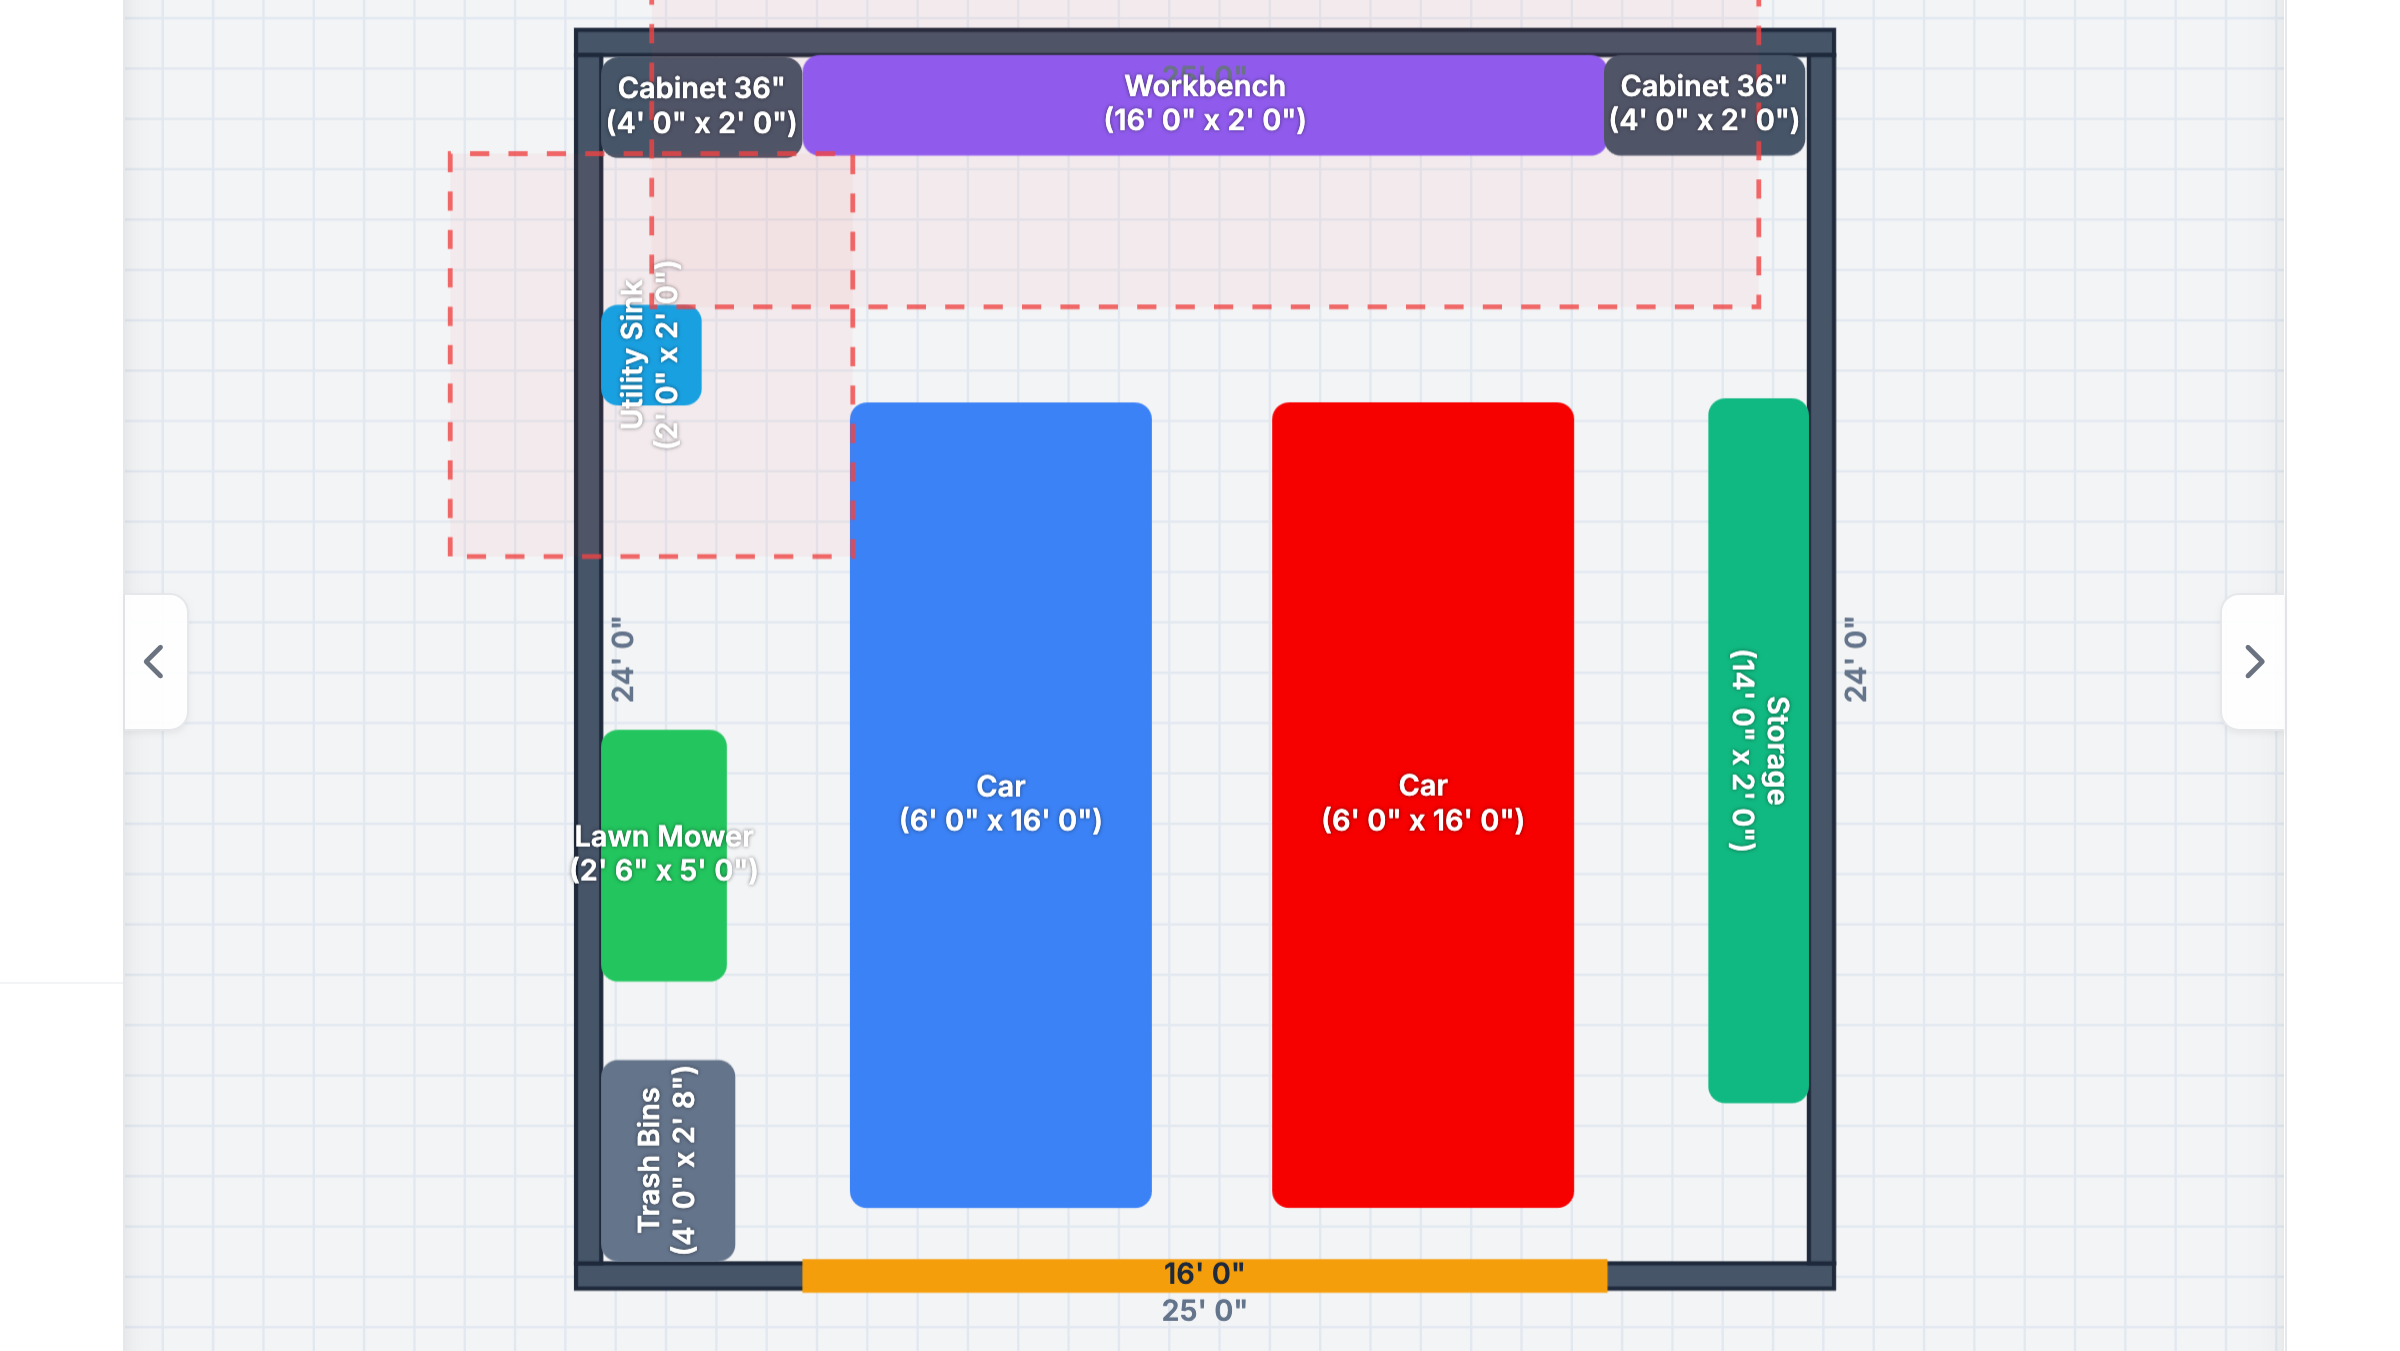
The workbench is where garage layouts are won or lost. Get its height wrong and every project hurts your back; get its placement wrong and it becomes a permanent shelf for boxes you never open.
Workbench Height: Match the Work, Not the Average
| Work Type | Surface Height | Why |
|---|---|---|
| General / repair bench | 34–36" | Elbow leverage for wrenching and assembly |
| Woodworking (hand tools) | 33–35" | Planing needs your body weight over the bench |
| Power-tool woodworking | 36–38" | Saws and routers want a taller deck |
| Electronics / fine work | 38–42" | Higher surface brings detail work to eye level |
| Metal fabrication | 36–38" | Welding tables and vise work like standing height |
The classic shortcut: stand relaxed, let your arms hang, and measure to the floor from your bent elbow. For general bench work, put the surface at that elbow height minus 2 to 4 inches. If you are between sizes, go slightly low — a low bench can be raised with risers or a mat, and a high bench punishes every vise job.
Depth: 25 Inches Is the Sweet Spot
- 25 inches (two sheets of 24" plywood plus overhang) is the standard. You can reach the back of the bench without leaning on it.
- 30 inches or more and the back half of the bench becomes a permanent landfill. Deeper is not better.
- Reserve at least 3 feet of clear floor space in front of the bench — you need room for a stool, a step-back when filing, and a shop vac hose.
Placement Rules That Save Regret
- Never in front of the garage door travel. Nothing on the floor within 12 inches of the door's arc, or the first cold morning will crunch it.
- Back wall before side wall. A bench on the back wall can be any length; a side-wall bench is capped by where your parked car's door swings. Our guide on bay width covers that math.
- Under a window if you have one. Natural light on the bench face beats any fixture, and the window doesn't care that the bench blocks it.
- Near power, not across from it. A bench more than one cord length from an outlet will sprout power strips. Pair it with the electrical plan — see wiring a garage workshop.
- Leave 4 feet of clearance for anything you roll in. A bench 4 feet from the car's bumper is a fender-bender with a name.
Try the Bench in the Layout First
Drop a standard 8' × 2' workbench into your garage plan and slide it around against your parked vehicles — takes two minutes.
Open Free Garage PlannerVise, Pegboard, and Lighting Positions
Mount the vise at the left end of the bench (for right-handed work) with its jaws just proud of the front edge, so long stock can hang off the end. Put the pegboard within 12 inches behind the bench surface — any farther and tools migrate onto the bench top. For lighting, one 4-foot LED fixture directly over the bench face and roughly 60 to 72 inches off the working surface eliminates the shadow your own head casts; our garage lighting guide covers the full layout.
Finally, plan the storage under the bench deliberately: one shelf at 8 to 10 inches off the floor for heavy items, and leave the middle open for stool storage and knees. A fully skirted bench looks tidy and functions worse.
Bench Length: How Long Should It Be?
Length is driven by sheet goods and by the wall you are willing to give up. Working numbers:
- 4 to 6 feet handles most repair and assembly work, fits a side wall, and leaves floor space for a rolling tool chest.
- 8 feet is the point where a full sheet of plywood can rest on the bench with support at both ends, which is why so many good garages have exactly one 8-foot bench.
- Beyond 8 feet, the far end becomes storage. If your design trends that way, split it into a fixed bench plus a separate rolling cart instead of one long surface.
Corner benches are the exception worth considering: an L-shape along two walls gives you a long work surface without monopolizing an entire wall, and the corner itself is an ideal spot for a vise, a drill press, or a bench grinder. Just keep the inside corner reachable — a bench more than 30 inches deep in the corner becomes a shelf.
Top Material and Thickness: How They Change Your Numbers
- Double 3/4-inch plywood with a replaceable hardboard skin is the standard garage bench: rigid, inexpensive, and flat enough for most work. At 1.5 inches thick, a 35-inch frame produces a 36.5-inch surface, so confirm your target height before cutting legs.
- Butcher block or laminated maple at 1.5 to 1.75 inches is the best surface for hand-tool work, but it moves with humidity and wants to be sealed.
- MDF is flat and smooth but swells the moment it gets wet — a poor choice for an unheated garage with a wet car parked in it.
- Steel or stainless tops suit solvent, welding, and engine work; they are the surface you can scrape clean. They are also the ones that make a cold garage feel colder.
- Edge banding matters: a 2-inch lip of hardwood around a plywood top is what keeps the corner from chipping the first time you slide something heavy across it.